
I am just so excited to be sharing this with you. I worked so hard on this 213+ pages to create something that is useful and beautiful so that after your wedding, you could keep it and remember every detail of your day and how you got to each decision.
If you have no idea what I’m talking about, then you really ought to head to the shop ASAP. If you’re engaged or have a friend that’s engaged that you know is about to lose it trying to keep everything together, I made just the thing for you.
First things first:
- This was my first product… ever. I think it’s good, but if you think it’s missing something or you see any mistakes you’d like fixed, just shoot me an email. You’ll find the customer service to be impeccable, because the author of your purchase (me) doubles as the business owner (still me) and also the customer service rep (oh hey, that’s me). I’ll do my best to help you and to resolve any issues. I’ll be updating the binder as frequently as I can until it’s 100% perfect. Your input would be welcome!
- Do not print all at once, unless you have a lot of ink or get it printed at a shop. As I mentioned, it’s LONG. You may not need every page, and you definitely won’t all at once, so waiting and printing as needed may be your best bet.
- Be sure to select “fit to page” when you print to make sure everything prints right.
- I made a Pinterest board where I have tons of things from stickers to binder folders that will help you stay organized. I recommend checking it out to see if there’s anything there you need. A bunch of papers stacked up may be difficult… a bunch of papers in a three ring binder with pockets for pull outs… that’s doable, folks.
Pair the binder with something free:
I didn’t want to just sell you something and leave you hanging. Instead, I made an automated email sequence that goes hand-in-hand with the binder. This way, I can pop into your inbox every 30 days and remind you of your to-do list and guide you through your binder.
It will the monthly to-do list available to print there (though you have them all already in your binder), as well as which pages in the binder you’ll need that month.
How to use specific pages:
Most pages are self-explanatory, but some I envision used a certain way and just wanted to share in case you were super confused with them. If there is a page in the binder you still don’t get, shoot me an email. I’ll happily help! I’m saying that a lot in this post, because seriously… I’d HAPPILY help. That’s what I love to do. I promise.
- Cover/ Sections: These just help keep everything its right place in your binder. They’re just pretty and for fun. Print and use or just skip over to save paper. Up to you!
- Page 2: This intro letter is just to help you get to know me and why I created this.
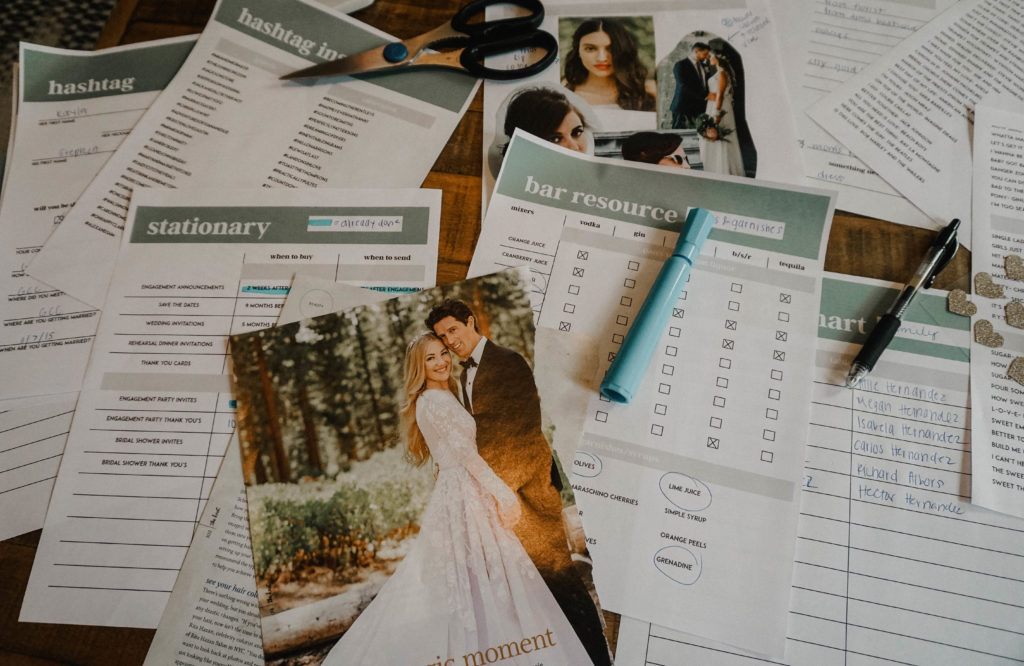
- Pages 6-8: There are a few resource pages in here that are meant to inspire you for creating things like your wedding hashtag and for choosing things like your wedding flowers.
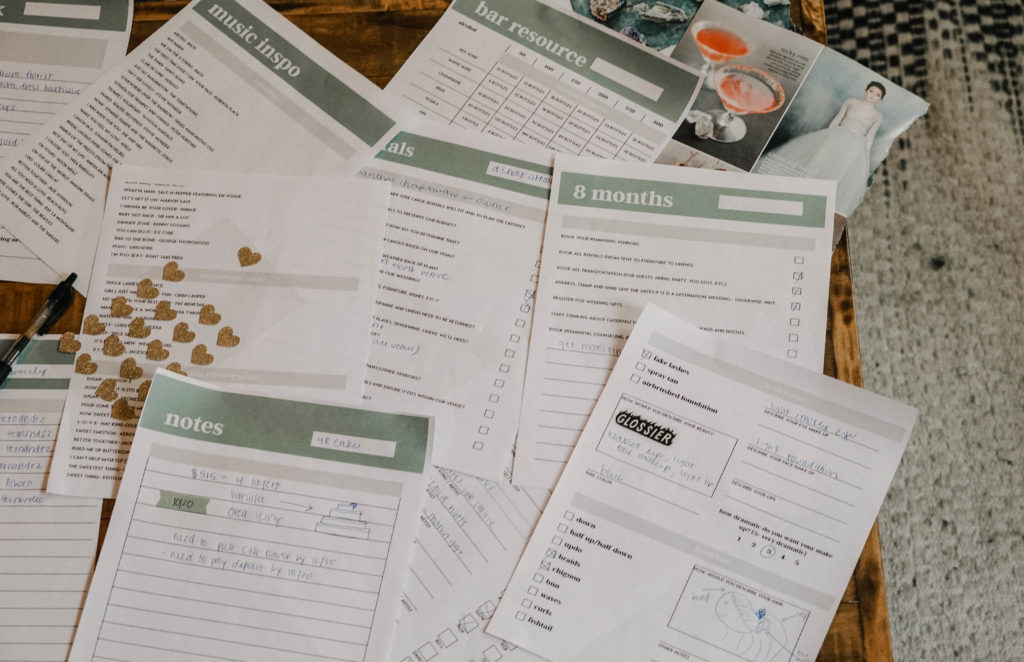
- Page 16-46: These go along with the free email subscription that literally reminds you of your to-do list every month… this is the hardest part of planning so I tried to pull out all the stops!
- Page 52: Any pages like this blank one are meant to be printed however many times you need until you have a full guest list, budget, schedule, etc.
- Page 57: I always find it easier to stay healthy when I track things and have my goal right in front of my face. This wellness page is there to help you get fit for your big day.
- Page 61: These blank pages are found throughout the binder. They’re here for you to tape down things like clip-outs from magazines or if you’re more artistic, to draw your own wedding inspiration. I think they make great keepsakes for after the wedding as well.
- Page 63: This page can either be used to check and circle what you’re interested in and open to for your dress or to track individual dresses you try on.
- Page 65: Vendor questions are several of the pages in the binder, because it’s so important to ask the right questions before you give away thousands of dollars to a vendor that fails you. Make sure to add your own on the blank pages as well.
- Page 75: I think this is something you can fill out and share with your bridal party. It sums up everything they need to know about their look, which is easy to forget if it’s told once months before they have to purchase. This will give them something to look back on when they inevitably forget.
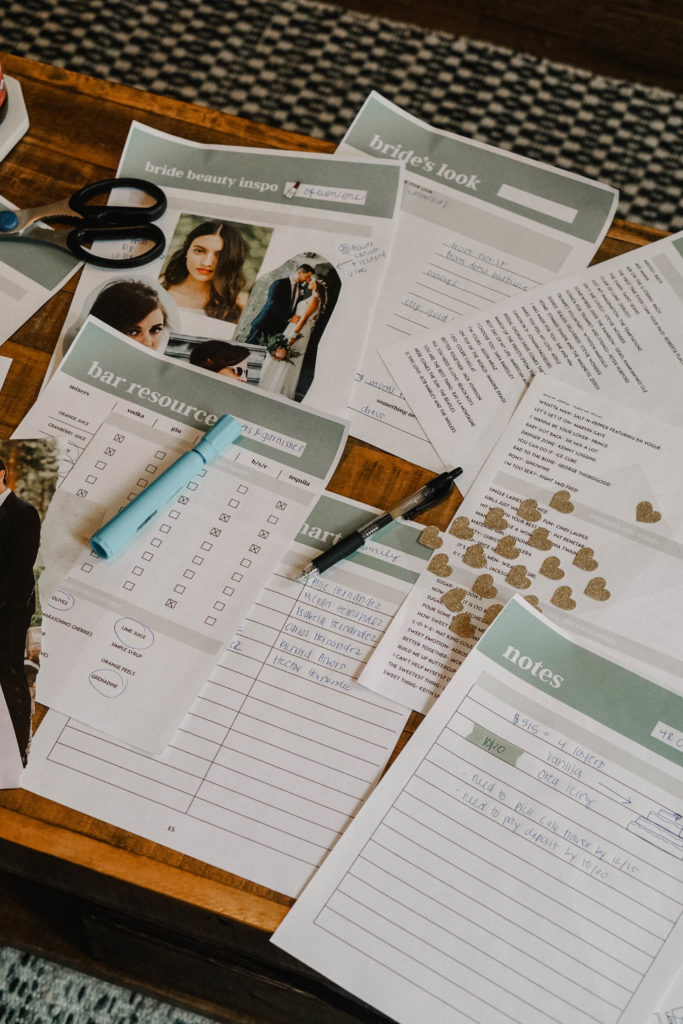
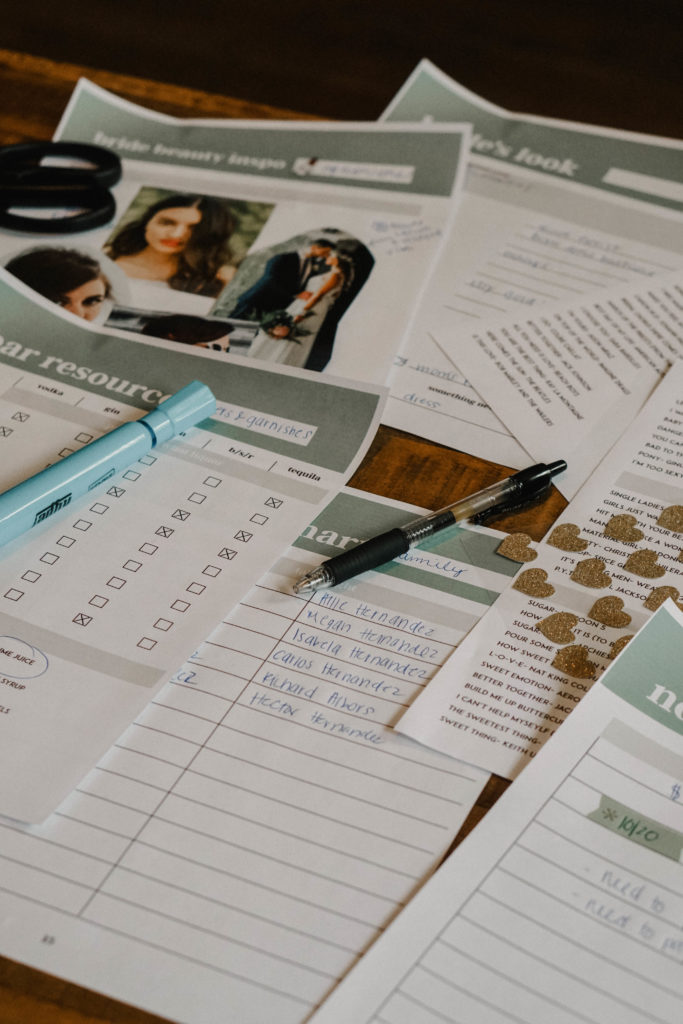
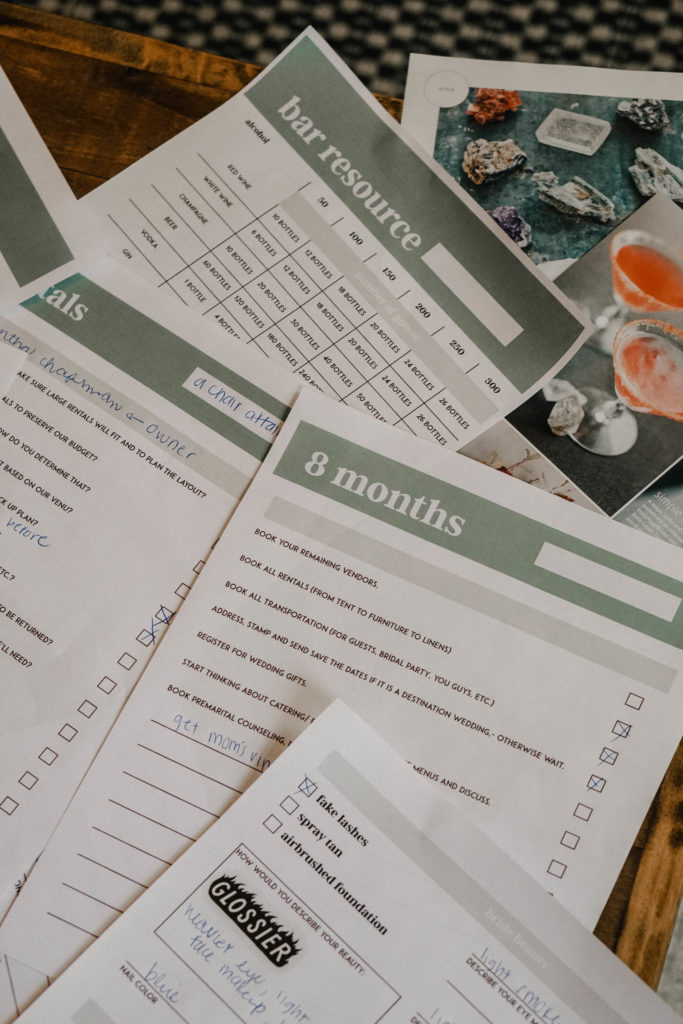
- Pages 93/94: These resource pages should help you determine how much of each beer, wine and spirit to purchase if you are doing it yourselves. Please note that SEVERAL factors can change this, and if you overbuy, the worse that can happen is your new bar is stocked…
- Pages 103-107: Fill these out with the names and groups of people you want to make sure and shoot in family formals. Share with your photographer, and maybe even prioritize in case you run out of time or good weather. You will also select things that you feel are important to catch. Your photographer is a pro, but also sometimes things are just more important to some couples than others. You don’t want to miss out on the shot you wanted the most by not communicating that.
- Pages 156/157: This is where you’re delegating everything that needs to be done on the day-of your wedding to someone else. You sure as heck don’t want to be responsible for anything but loving your new spouse and sipping champagne!
- Pages 167-188: This is where you organize every attending guest by table. You can include the table name or theme in the rectangle on top and use the second page (largely blank) to illustrate the layout of the table.
- Pages 192: These pages are meant to be printed, cut out and pasted to the second table page (168, 170, etc.). Then you can write each person’s name in the proper square so you can visualize where they’ll be seating and who next to. You can also use these on a big poster board or 11″ X 17″ to show the full layout of your reception venue.
- Page 203: Plan your honeymoon outfits by day and activity on this sheet.
- Page 207: This is just a section for your contracts. I would include a clear pocket in your binder at this point to hold all your vendor contracts in one place.
- Pages 210-213: These are just other blank tools from to-do lists to a monthly calendar that you can use in any way you’d like!

More on Pinterest:
SaveSave
FREE Wedding Printables + Newsletter

Upon subscribing, you'll get immediate access to the free printable bank (including a beautiful checklist of the 50+ things brides forget to budget for).
You'll also get all the new posts sent straight to your email as they come out.